Install CA certificates on Windows systems
Download
If WiFi is already set up, you only need the final 2 of the 5 following certificates, otherwise you need all of them. Save the certificates in a temporary directory (i.e. C:\Temp), use the names as specified here:
telekom.crt
https://pki.pca.dfn.de/fh-schmalkalden-ca/pub/cacert/rootcert.crt
dfn.crt
https://pki.pca.dfn.de/fh-schmalkalden-ca/pub/cacert/intermediatecacert.crt
hsm-ca.crt
https://pki.pca.dfn.de/fh-schmalkalden-ca/pub/cacert/cacert.crt
iukca3.crt
Download aus CMS
zefica.crt
Download aus CMS
Use the right mouse key to clock on a link, from the context menu chose “Save as”.
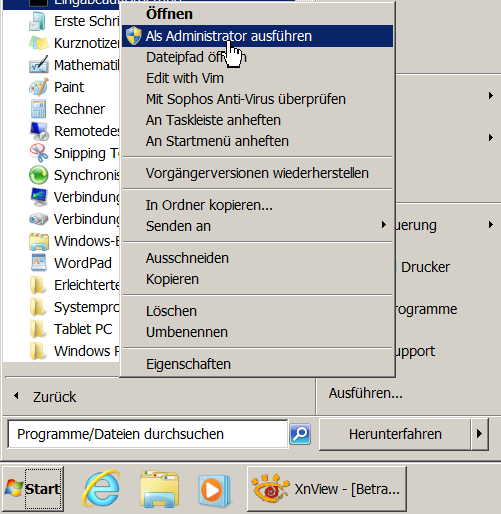
Start terminal window as administrator
In the Windows explorer (file explorer) navigate into the C:\Windows\System32 directory, use the right mouse key to click the cmd.exe file, from the context menu choose “Run as administrator”.
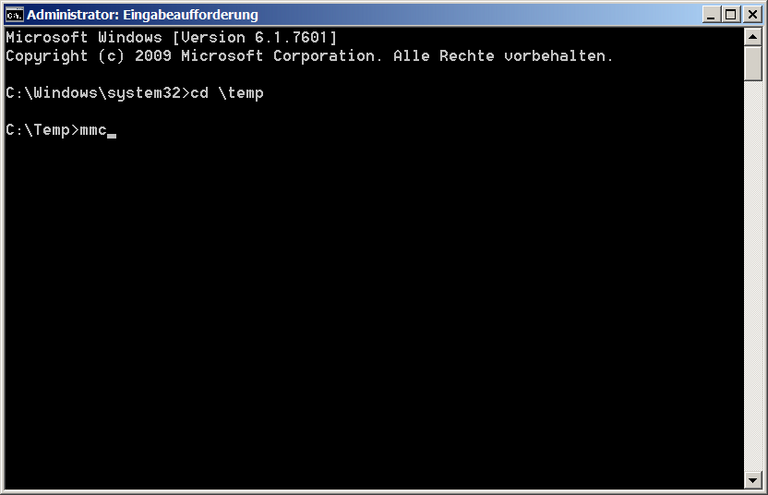
Run Microsoft management console
In the new terminal window type
mmc
to start the console.
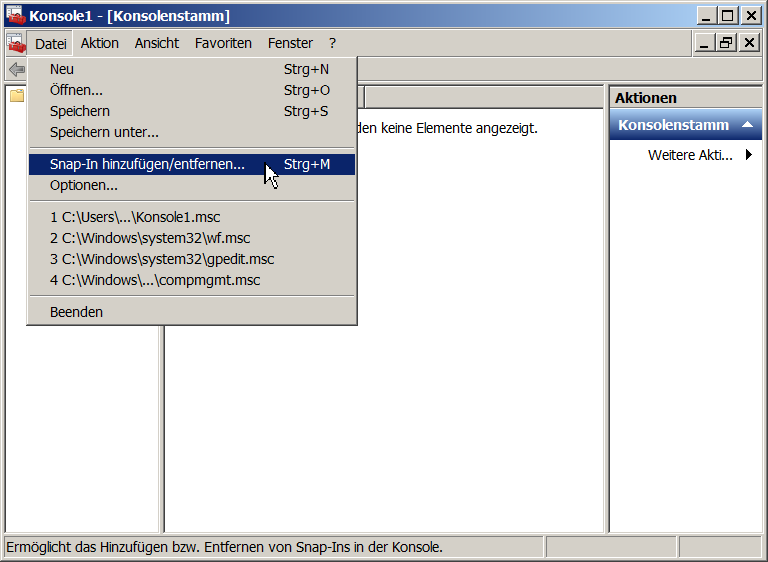
Add certificates snap-in
Use the menu item in the “File” menu to add and remove snap-ins.
Choose certificates snap-in
Choose “certificates„ from the list.
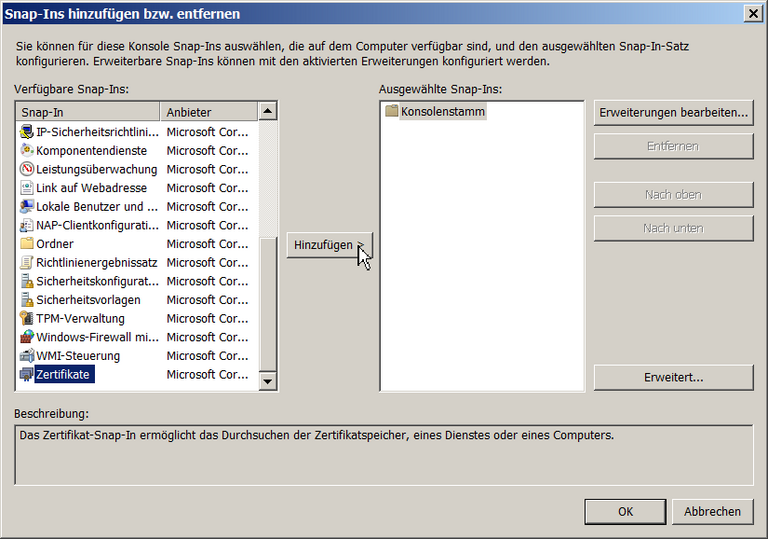
Modify certificates settings for a computer
Choose “computer account”.
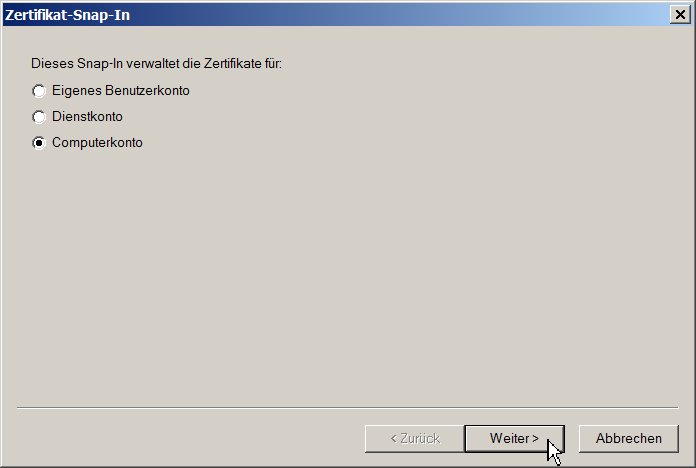
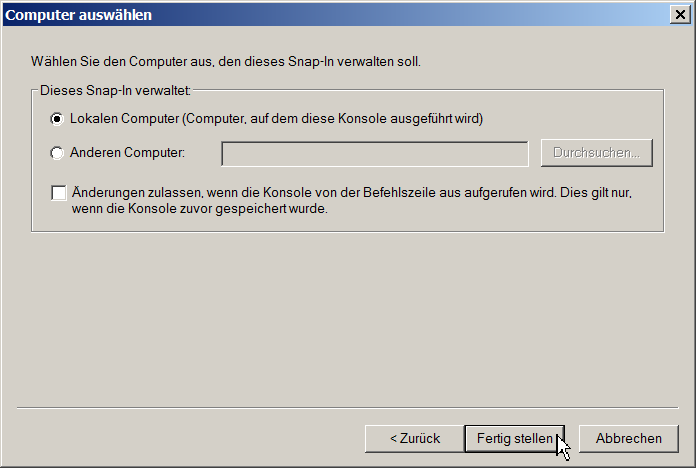
Modify certificates settings for the current computer
Choose the “Local computer” account.
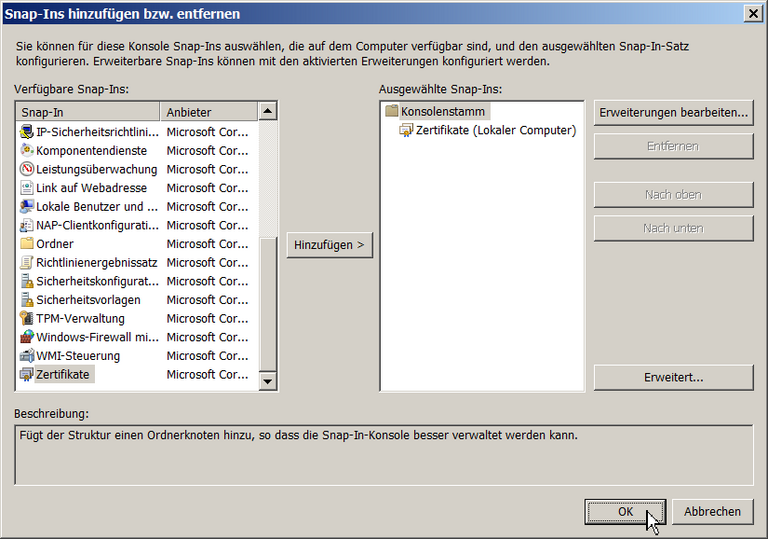
Snap-in added successfully
The snap-in was added successfully.
Check for existing Telekom certificate
In the left navigation tree choose “Certificates (Local computer)” → “Trusted CAs” → “Certificates”.
Check whether “Deutsche Telekom Root CA 2” is already in the list.
If the certificate is not yet in the list, we have to install telekom.crt first. Otherwise we only have to install — in this order — dfn.crt, hsm-ca.crt, iukca3.crt, and zefica.crt.
The text below shows the installation of dnf.crt only, the steps are similar for the other certificates.
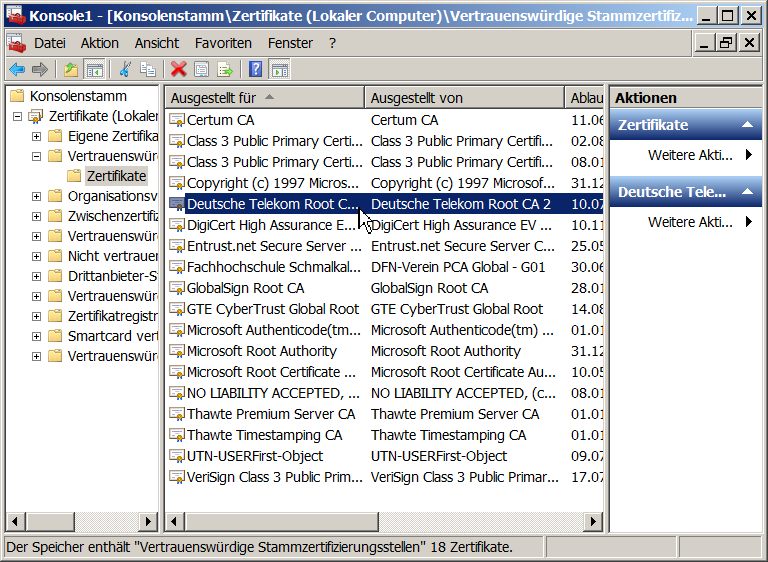
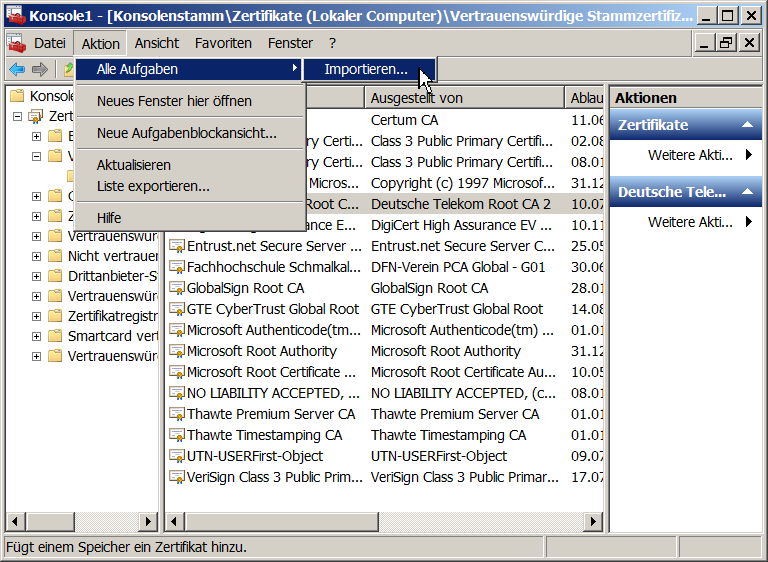
Start import
Use “Action” → “All tasks” → “Import…” to start the import.
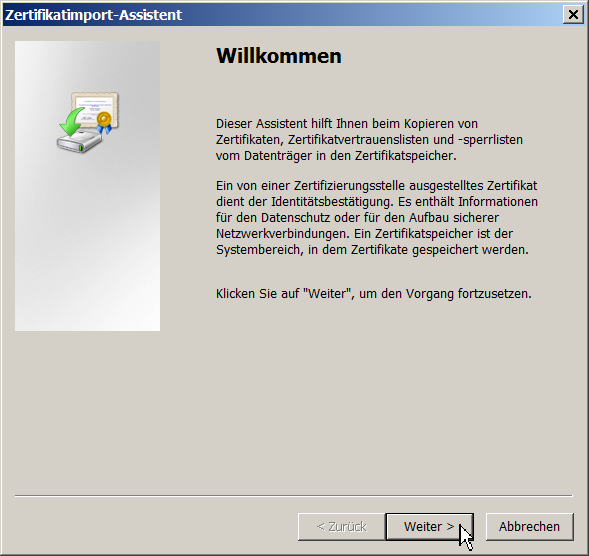
Greeting screen
No input is required on the greeting screen.
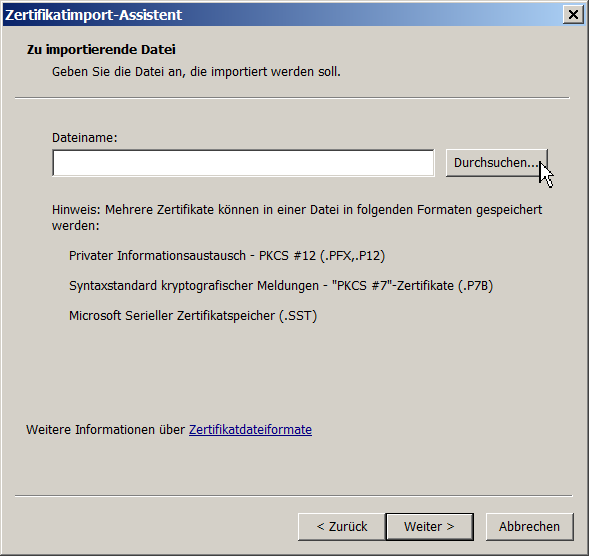
Button "Search file"
Use the “search file” button to open a file selection dialog you can use to navigate to your file.
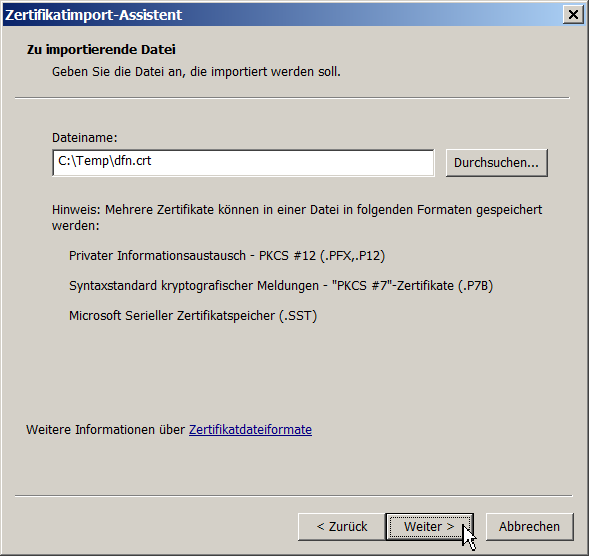
File selected
The file name is shown in the dialog now.
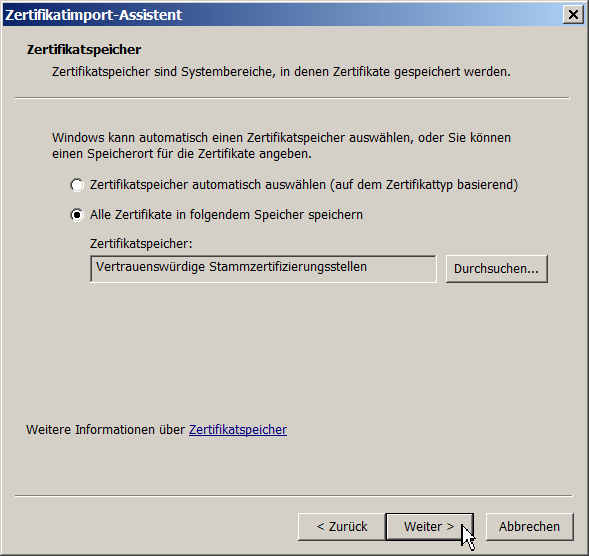
Choose certificate store automatically
The program has to choose the certificate store automatically. Alternatively you can require to use the trusted CAs certificates store.
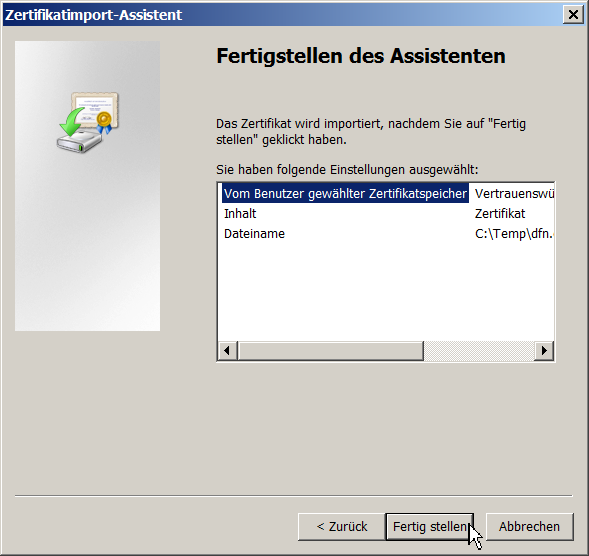
Confirm choices
In a final screen we have to confirm all our choices.
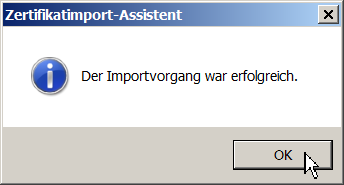
Import completed
At the end of the import process a success or error dialog is shown.
Exit MMC
After importing all required certificates we can exit the program.
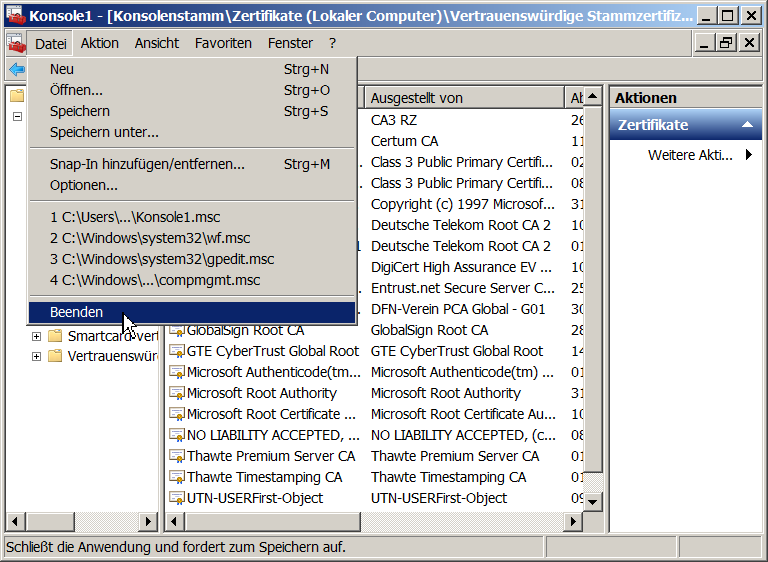
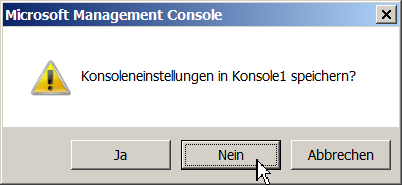
Do not save MMC settings
There is no need to save the MMC settings.
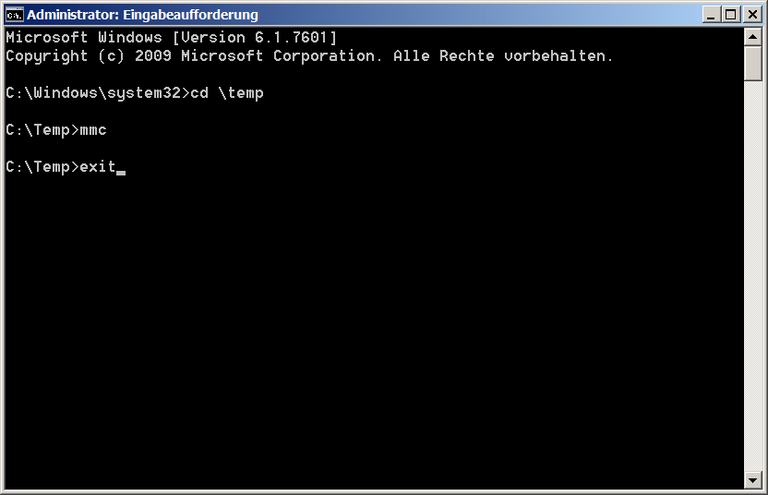
Exit terminal
In the administrator terminal type
exit
to get rid of the terminal.
