Book scanner
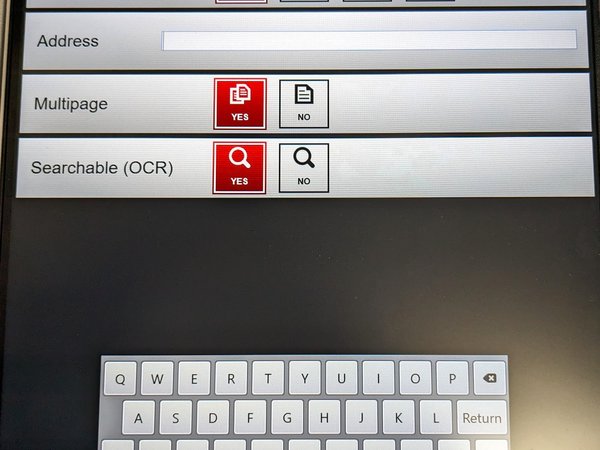
Note about OCR text recognition
Use OCR text recognition to create searchable scans.
Saving searchable scans takes a bit of time.
First steps
1. select language
2. accept copyright policy
3. select operating mode:
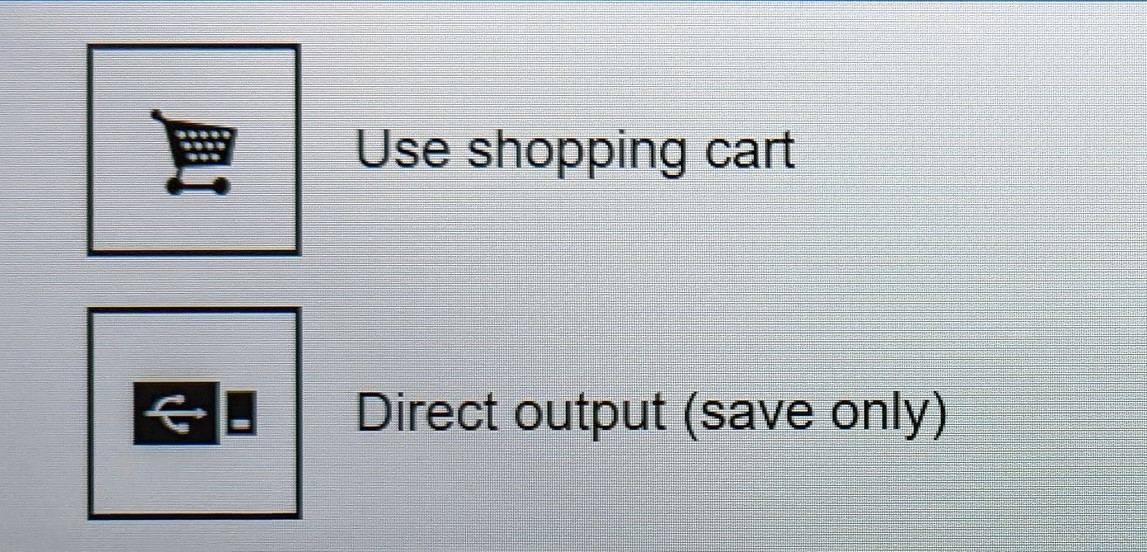
Operating Mode: Direct Output (save only)
- the last scan can be edited
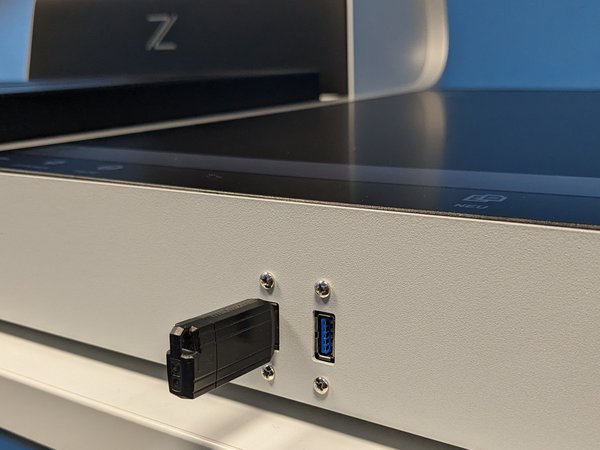
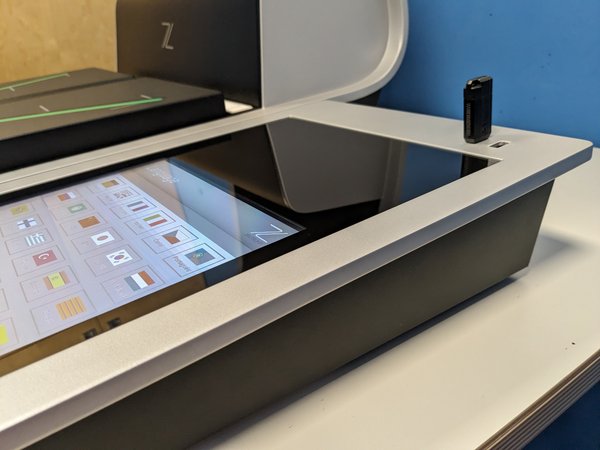
- for saving on USB flash drives
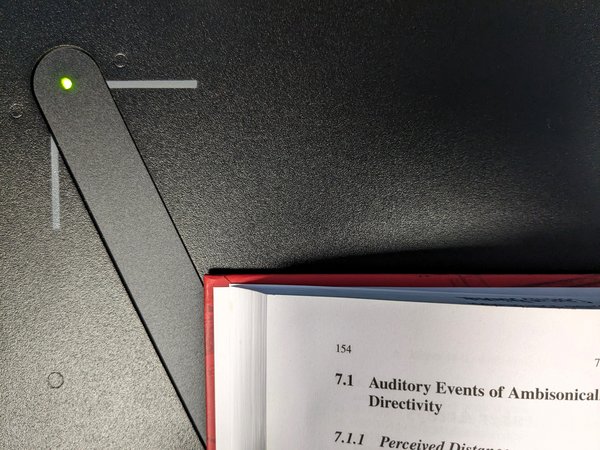
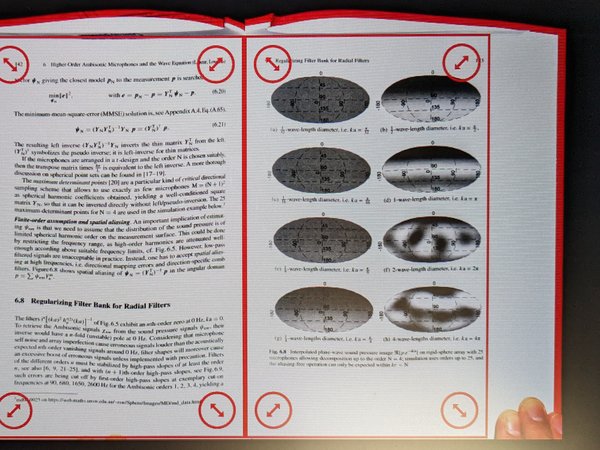
- place the original in the centre using the positioning lines
- if necessary, adjust the book cradle
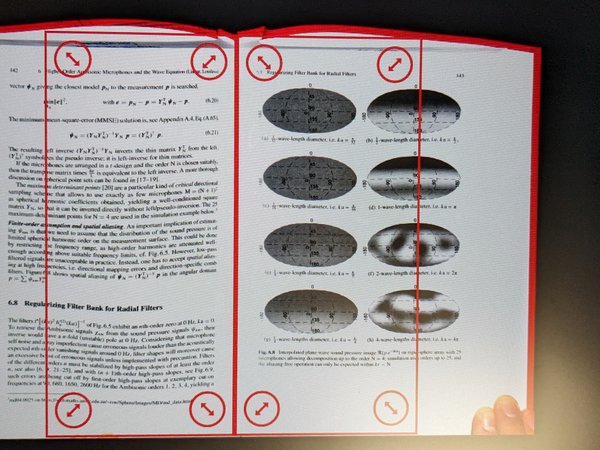
- hold the original by the edges during the scanning process
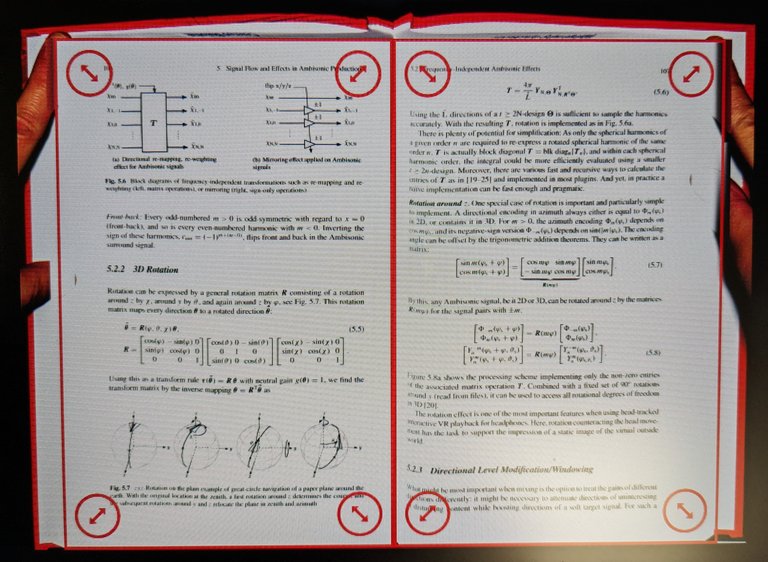
Fingers that appear on the scan are usually retouched automatically (see photo).
Operating Mode: Use shopping cart
Scans in the shopping cart can be
- edited
- exported via e-mail or app (only on the scanner on the ground floor)
- save onto USB sticks
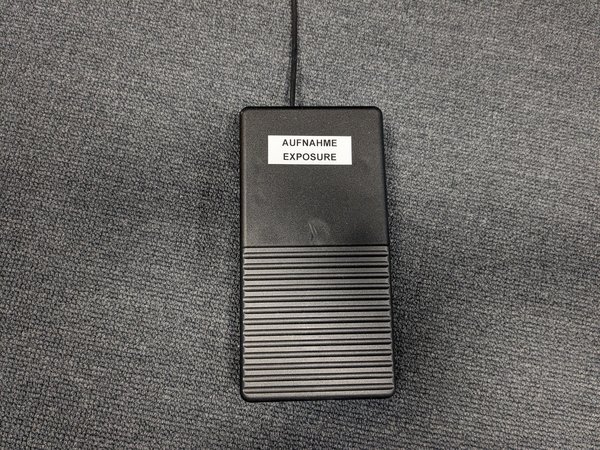
- Need help triggering scans? Take a look at points 1.2 - 1.6 of the "Direct Output" instructions.
Three export options are then available to you:
Send scans by e-mail
- Only at the scanner on the ground floor!
- Need help triggering scans? Take a look at points 1.2 - 1.6 of the "Direct Output" instructions.
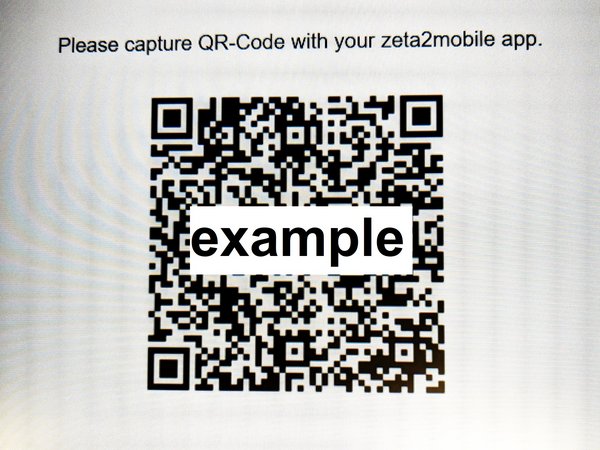
Upload scans with the "zeta2mobile" app
- Only at the scanner on the ground floor!
- App does not run on all mobile devices!
- Need help triggering scans? Take a look at points 1.2 - 1.6 of the "Direct Output" instructions.
Download App
- tap the "Mobile" button
- select storage options
- wait until the "Download complete" message is displayed in the app
- disconnect the scanner from the mobile device
- log out
Save scans from the shopping cart to USB flash drives
Need help triggering scans? Take a look at points 1.2 - 1.6 of the "Direct Output" instructions.

